Well, it's official. I will be conducting a series of drawing lessons on Wetcanvas.com starting January 11, 2007!!! I am really excited about this opportunity!
Many artists are intimidated at drawing landscapes. By breaking each component of a landscape down into smaller pieces, anything is possible! We will start by exploring skies. Then we will learn techniques on how to draw rocks, water, grass and trees. We'll finish up by combining all of these components into a complete landscape.
Come join us at www.wetcanvas.com in the Drawing & Sketching forum. See you there!
Wednesday, January 03, 2007

Sunday, December 31, 2006
Happy New Year!
It has been a great year and I am really looking forward to what the new year has in store for me! It is New Year's Eve... my son is home from Houston, Tx and has a number of his friends over celebrating.
And I'm cloistered in my studio drawing......rocks. Yup that's right. I am doing a rock study for a rock tutorial. Thought I would share! I have the rocks completed, now just have to finish the ripples in the water, and some grass and leaves.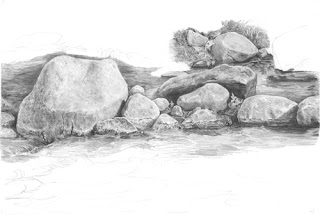
Wednesday, December 13, 2006
Polk City Barn II - Commission
I believe I've got it finished. The textures are rich in this cluster of farm buildings which make this an interesting drawing. The overall tones are darker than many of my previous drawings. This is something that I am working on to build richer, darker tones....
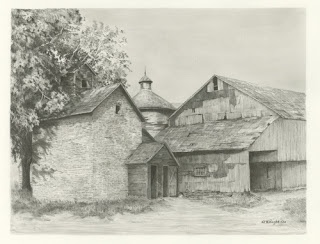

I'm cutting this close. I am trying my hardest to get this done before Christmas. Here's an update!
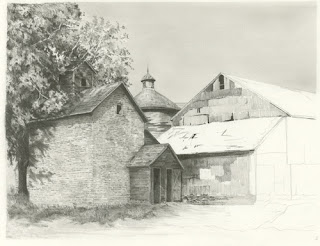

I continue to work on the buildings. The brick building has been challenging as I create brick textures while not attempting to draw each brick meticulously. I used a 4H chisel point clutch pencil to give an overall tone to the buidling and then using a softer lead (2B) I create areas of brick details.
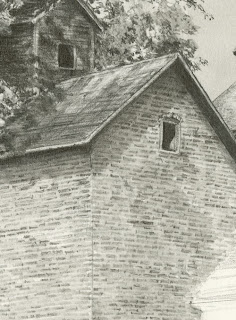
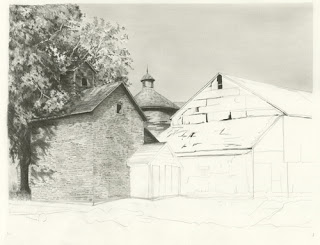

The tree is starting to emerge on the paper. I want the tree to feel like it is engulfing the building as the branches stretch themselves over the grainery shed.
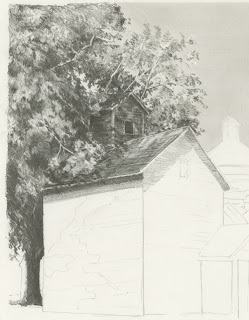

I have continued to work on the tree as it branches out behind and over the front of the building. This is the most interesting part as the shadows dance over the building that is tucked inside the branches. I am using a 4B and 2B .5 mech pencils to get these rich darks. The highlights are lifted out using the blu-tack.
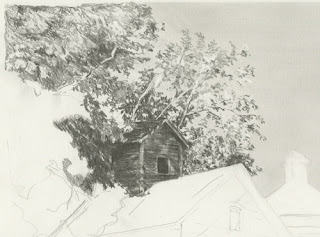

The detail of the tree foliage is built up with multiple layers of graphite. I use a scribble pencil stroke to create the leaves. Using a battery eraser, I restore the lighter branches and then darken the edges "underneath them".
I will continue to 'built' and 'erase' the leaf bundles to create depth, texture and values of the leaf bundles. The branch is drawn around (negative drawing) leaving it white. I will come back to it later to create more form.
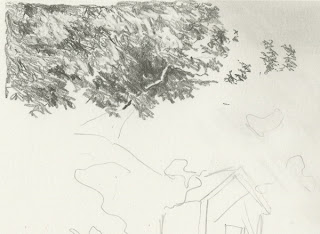
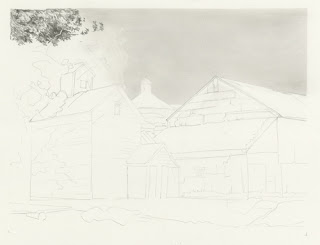
I will continue to 'built' and 'erase' the leaf bundles to create depth, texture and values of the leaf bundles. The branch is drawn around (negative drawing) leaving it white. I will come back to it later to create more form.

I have created the outline of the buildings and have shaded in the sky tone. This 'toning' of the sky will allow a broader range of values to be captured in this drawing.

This is a return to a previous commissioned subject matter I did for a good friend of mine. She was thrilled with the rendering I was able to produce. The first commission was a challenge since I had to use 5 different photos and piece together the image. You can see the first drawing at: http://www.dianewrightfineart.com/commission.htm - called Polk City Barn.
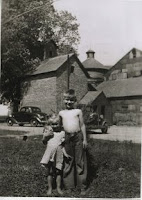
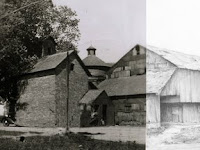
Since then, she discovered another photo of the barn with additional outbuildings. This one is no less challenging as the photo had 2 vehicles and 2 kids in the foreground.
With the help of Photoshop and a piece of my previous drawing, I was able to piece this composition together. Here is the original photo and the Photoshop enhanced image that I will be using for this drawing:


Tuesday, November 21, 2006
Evening Shadows
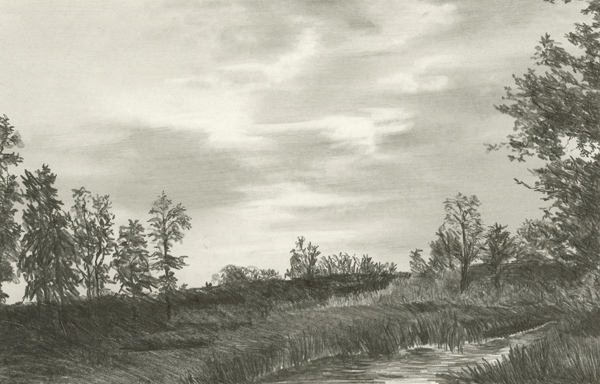
Here is a quick study (less than an hour) on clouds in the early evening just as the sun is thinking about setting. The clouds are backlit by the sun and are darker than the sky. The trees are mostly in shadow and most of the details are subdued. This is a small drawing only 4.5" x 7"
Thursday, November 16, 2006
Sunday, November 12, 2006
My Mind is in the Clouds
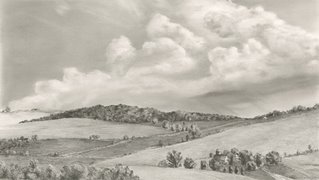
Step 6 - I worked a bit more on the cloud heads and created a bit more unity. Then it was onto the landscape. I deviated a bit from the actual reference photo, attempting to make a compositionally balanced view. It is acceptable for a first attempt as such a drawing and there will be more studies in future that will explore the rolling hills of Iowa.
Enjoy!
Enjoy!

Step 5: I have completed the clouds and will start working on the landscape. In-between corn fields Iowa has some beautiful rolling hills and valleys.
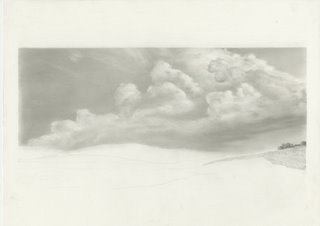
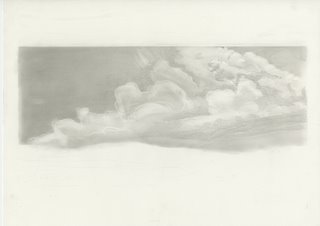
Step 4: This is where the fun starts. Erasing highlights and adding shadows, 'sculpt' the clouds. I switch to a 2H .5 mech pencil and a tortillion.
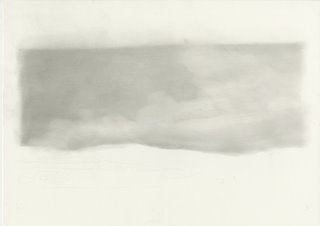
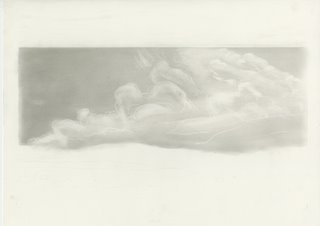 Step 2: Using a chamois, I blend the graphite smooth. You can see how messy I get on the borders. That's okay because I want the graphite to smooth out to the very edges of the drawing.

Step 4: This is where the fun starts. Erasing highlights and adding shadows, 'sculpt' the clouds. I switch to a 2H .5 mech pencil and a tortillion.

Step 3: Using erasers, I start lifting the clouds out of the toned sky. Each eraser will create a different effect. A plastic eraser will lift off nice blocks of graphite, a pencil eraser will lift fine lines and blu-tak will lift soft wispy areas.
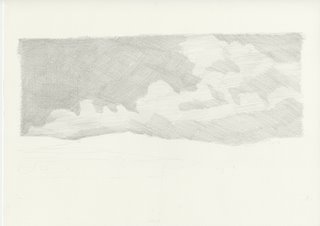
Step 2: Using a chamois, I blend the graphite smooth. You can see how messy I get on the borders. That's okay because I want the graphite to smooth out to the very edges of the drawing.Step 1: Use a loose-hold on your pencil. Hold the pencil 1/2 back on the barrel and let the weight of the pencil create the stroke. The purpose of this is to create an even light stroke. Using multiple layers of cross-hatching, I build up the layers of graphite. I am using a B .5 mech. pencil for crosshatching.
Ever since fellow artist MLeonard, member of Artpapa, challenged me to include a sky in the Ivy Church drawing, I have been keeping my mind in the clouds. I am continually amazed at the beauty of just looking up in the sky! Over the past couple of years, I have been learning the importance of toning the sky and adding clouds as part of overall compositional improvement in my landscapes. The emphasis in this panoramic landscape is the clouds. I think I could spend hours and hours fiddling with each puff of white!
Saturday, November 11, 2006
Zach - GoKart
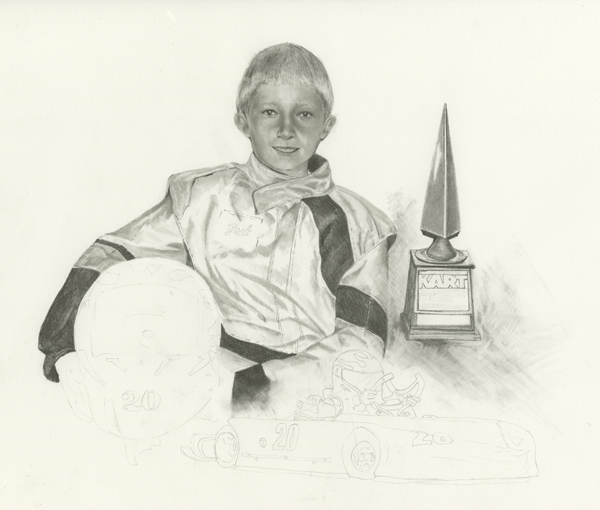
Opps...We are missing a trophy! Thank goodness I had just enough room left on the paper to add this award!
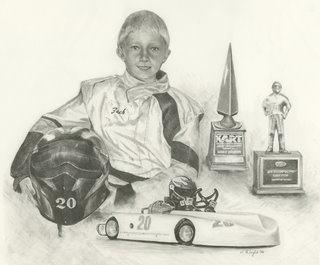
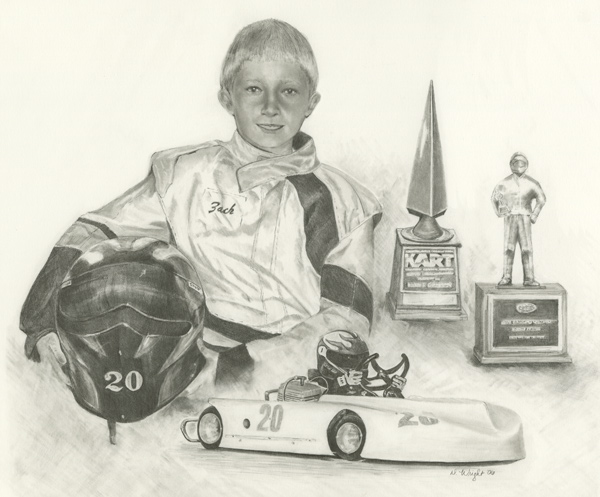
Final - With completing the helmet and blending the area around the helmet and car, I believe this drawing is completed!
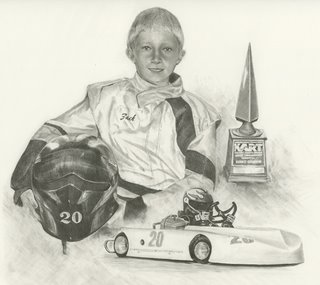
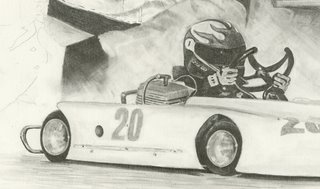
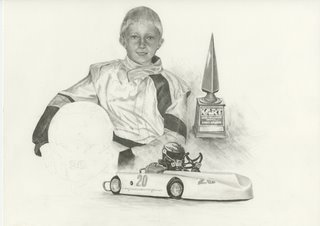
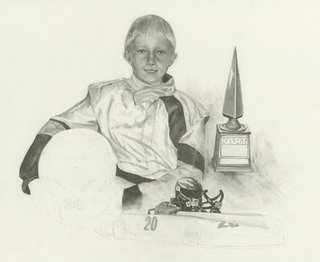

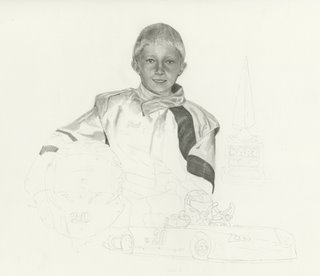


Wip 5 - I got up bright and early this morning to jump right into drawing again. Got a cup of coffee and I'm good to go! The car and trophy are now completed. When working in dark areas, black is never just black. Instead I concentrate on finding the subtle forms within those dark areas. They may eventually look black but if look closely the form can still be defined. This is a key technique in creating 3 dimensionality. A good example of this is the tires and tire wall areas. I have included a close-up of the go-kart as well.


Wip 4 - I'm starting to work on the go-kart...
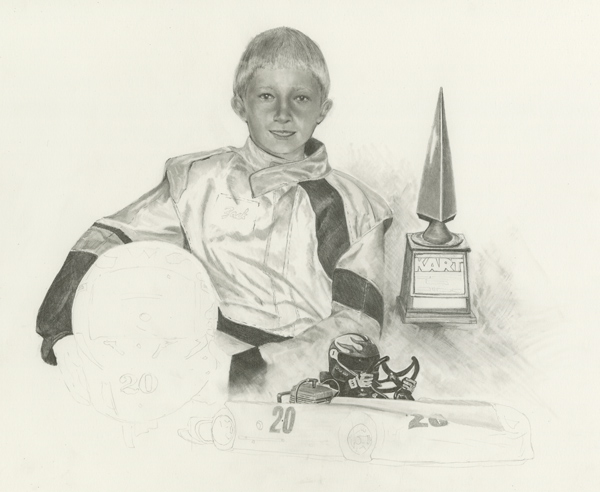
Wip 3 - Finished the suit and started on the trophy. I am blending the three images together with a blended method. I apply graphite, blend it with a tortillion, then use a plastic eraser to smear and erase a texture into the areas. By doing this the three separate objects become unified together. I still need to work in some of the details into the trophy but it's starting to emerge on the paper.
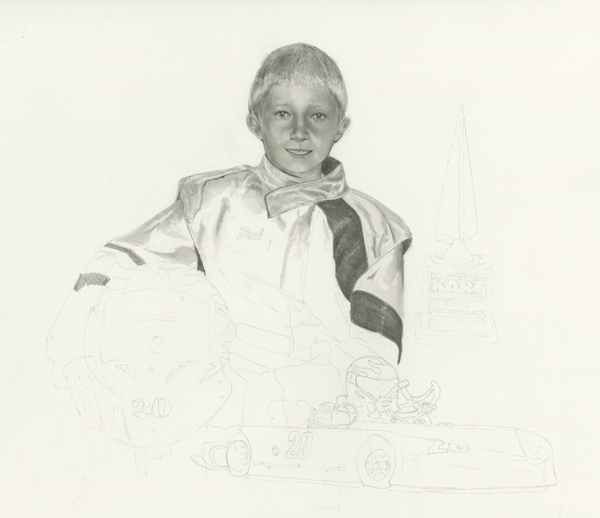
Wip 2 - Moving right along, I finished the hair and have started on the suit.
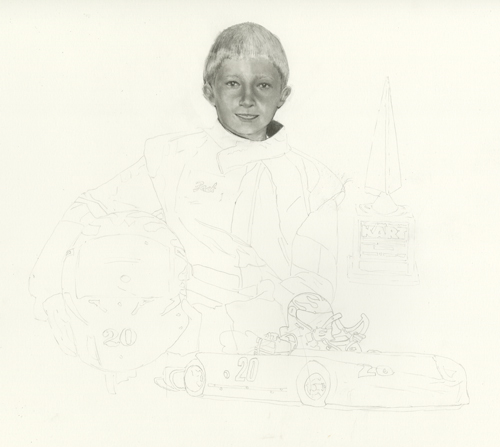
Wip 1 - I have started on Zack's face. Using a B .5 mechanical pencil I lay down the shadows and darker areas, then chamois smooth. I then start lifting and shaping the facial features with blu-tak and more layers of graphite. I still need to work on his hair and ears, but I think I have his likeness down.
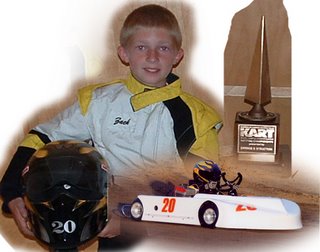
This is a commission that I am doing of a young man who won 3 national go-kart championships this past year. What proud parents he must have! Here is a general compositional mock-up of the drawing layout.
Subscribe to:
Posts (Atom)