Buildings can create interest and diversity to a landscape. It can be the focal point or it can be a supporting actor. It can create a scene that tells a story, it can help put people or animals into perspective or create a backdrop for the scene. Buildings are one of the easiest ways to identify geographical regions. From urban skylines to country cottages, fishing shacks to barns, mines, mills, churches and historical architectural wonders - they are an endless resource for the artist.
COMPOSITION CONSIDERATIONS.
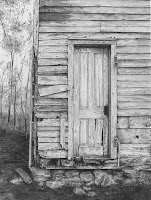
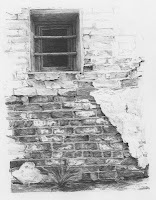
How much of the building do you want to include? Perhaps it's just a window, a door, or
a corner of a building is used to create an interesting composition.
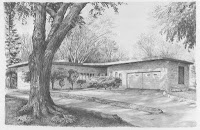
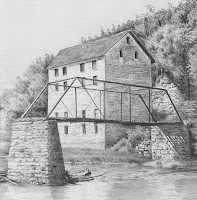
A part of the structure or the entire building may be drawn. But even if the building is the focal point, the surrounding landscape is just as important. It should complement and embrace the building.
Be sure objects are of the proper proportion. Checking the size of windows and doors to match the height of people, animals or other objects is important.
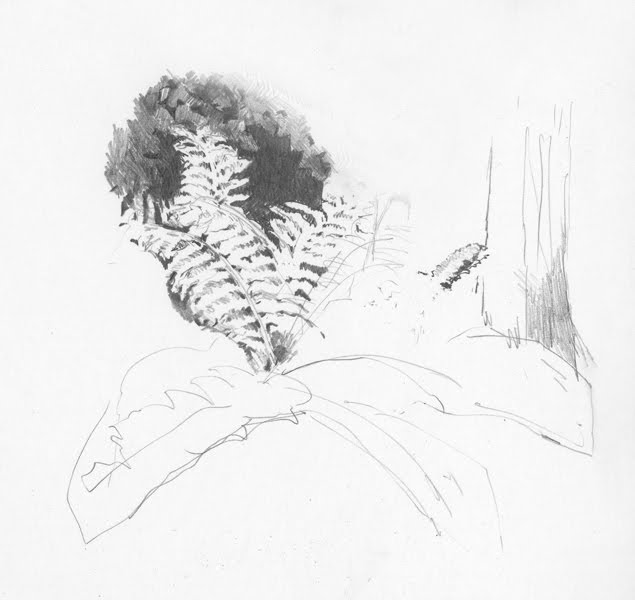
How to lead the eye through the scene? A road or a path can lead

and control the viewer's direction into the scene. The sway of the grass or a branch can also
PERSPECTIVE
Drawing realistic buildings requires an understanding of perspective. If perspective rules are ignored, you will find the building will not 'sit' in the scene correctly. My book "Drawing Made Easy:Beautiful Landscapes" briefly touches on the subject. Two other good books include:
Perspective (Artist's Library series #13) by William F Powell and
Drawing Scenery: Landscapes, Seascapes and Buildings (The Art of Drawing) by Giovanni Civardi
Using perspective is fundamental to making a building structure look correct, but it should not dominate the artwork. Diligently drawing straight lines to perfect perspective sucks the life right out of the piece and the artwork will start to resemble illustration or architectural drawings. My preference is to use a t-square to confirm or correct my sketched outline. I will then deliberately freehand over a ruler line to breathe life back into the edge.
Perspective is used to create a sense of depth for the buildings, but paying attention to placement of objects, overlapping of objects and aerial or atmospheric perspective also have key roles in the success of the scene.
Consistent light source. Identify the direction of the sun and create the shadow angles consistently. This will create a solid 3-dimensional structure. Try doing thumbnail sketches to change the light source direction from early morning, to noon to late afternoon. Changing the direction of the shadows may create an entirely different mood or feeling to the scene. It can also help you understand the value composition
NEW v. OLD BUILDINGS
New buildings - The window frames and angles need to be sharp and crisp. On an older building these can be relaxed slightly, but they are still critical to the success of the building. On old buildings, perspective still applies. Unless the building has an

intentional lean or ready to fall down, the vertical lines are still vertical and the side angles still converge to a vanishing point.
TEXTURES
This is where the fun begins. Bricks, stonework, shingles, window trimmings and old wood are just a few of the wonderful textures to explore when drawing buildings. I don't attempt to draw every brick or every stone in a building so I am always experimenting with pencil strokes to find just the right pattern to 'represent' the texture.


