Enjoy!
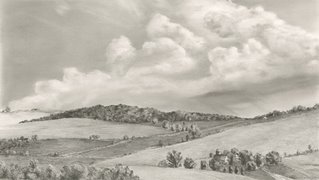
Step 5: I have completed the clouds and will start working on the landscape. In-between corn fields Iowa has some beautiful rolling hills and valleys.
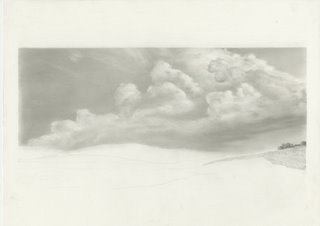
Step 4: This is where the fun starts. Erasing highlights and adding shadows, 'sculpt' the clouds. I switch to a 2H .5 mech pencil and a tortillion.
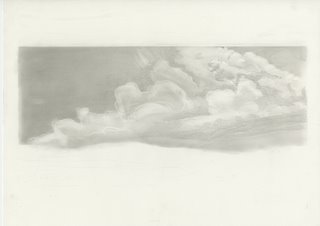
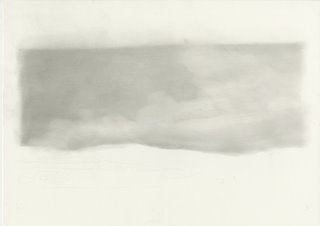
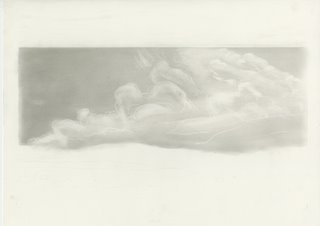 Step 2: Using a chamois, I blend the graphite smooth. You can see how messy I get on the borders. That's okay because I want the graphite to smooth out to the very edges of the drawing.
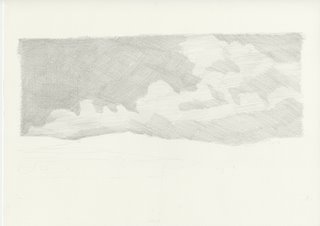

Step 4: This is where the fun starts. Erasing highlights and adding shadows, 'sculpt' the clouds. I switch to a 2H .5 mech pencil and a tortillion.

Step 3: Using erasers, I start lifting the clouds out of the toned sky. Each eraser will create a different effect. A plastic eraser will lift off nice blocks of graphite, a pencil eraser will lift fine lines and blu-tak will lift soft wispy areas.
 Step 2: Using a chamois, I blend the graphite smooth. You can see how messy I get on the borders. That's okay because I want the graphite to smooth out to the very edges of the drawing.
Step 1: Use a loose-hold on your pencil. Hold the pencil 1/2 back on the barrel and let the weight of the pencil create the stroke. The purpose of this is to create an even light stroke. Using multiple layers of cross-hatching, I build up the layers of graphite. I am using a B .5 mech. pencil for crosshatching.

Ever since fellow artist MLeonard, member of Artpapa, challenged me to include a sky in the Ivy Church drawing, I have been keeping my mind in the clouds. I am continually amazed at the beauty of just looking up in the sky! Over the past couple of years, I have been learning the importance of toning the sky and adding clouds as part of overall compositional improvement in my landscapes. The emphasis in this panoramic landscape is the clouds. I think I could spend hours and hours fiddling with each puff of white!
No comments:
Post a Comment